User Guide
Installing Arch Linux with alis only requires the use of four commands and depending on the speed of the internet connection a few minutes, more important than the speed of installation is that the script completely automates the installation. Apart from the four commands, it is necessary to edit a configuration file in which to declaratively specify the values of the variables to customize the configuration of the system to be installed according to preferences.
Aside from the four proper commands to run alis, there are some additional tasks common to any way you use to install Arch Linux such as backing up your data, checking the minimum system requirements, and learning about the hardware components of your system. to install, download the installation media, and create a USB drive to start the installation. After the installation, the user will surely have to do some additional customization in terms of desktop configuration, finally Arch Linux periodically requires some maintenance tasks such as updating the packages to the latest versions.
Pre-Installation steps
Before starting the installation of Arch Linux with alis, it is convenient to carry out some previous steps, since once the installation has started, the system will not be usable until the installation is finished correctly. These steps are convenient to try to ensure that the installation process is satisfactory on the first attempt, avoiding errors as much as possible and being prepared in case there are any.
Once you have made the decision of wanting to install Arch Linux as an operating system on a system, first of all, it is advisable to make a backup copy of all the important data to keep on an external storage unit of the system, since replacing the existing operating system of the system it is an operation that usually involves partitioning and formatting the operating system partitions on which the data is stored. A graphical interface program for backup is FreeFileSync.
Knowing the specifications of the system and of the main components of the hardware is convenient, although most of the hardware is detected by Linux without the need to install additional drivers if it may be necessary to indicate the graphic driver. Some details of the main components of a system are make and model of the computer, whether it is a laptop or desktop, make and model of processor (Intel, AMD, ARM), amount of memory and type, make and model of motherboard , brand and model of the storage unit (hard drive, SSD) along with the interface used (SATA, M.2, NVMe) and capacity (in GB or TB) and brand and model of the graphics card (Intel, AMD, Nvidia) along with whether it is an integrated or discrete graphics card connected to the PCIe port. If the system has a Wi-Fi connection and if Ethernet cable or Wi-Fi is used for the connection. In addition to the drivers, knowing the specifications allows you to give additional information in case you need to ask for help, since an error may be related to the specific combination of system components.
In the case of Arch Linux, regardless of how the installation is carried out, it is convenient to know the manual installation process offered and the necessary commands to execute in each step. Arch Linux has a wiki with information on numerous topics in great detail, usually including several sample commands to perform the most common actions on that topic. The commands to perform the manual installation are included in the installation guide wiki. Reading the wiki allows you to learn what happens during the installation, and again knowing some details allows you to know what could be wrong in case of an error.
Another important step is to decide what features are desired for the new Arch Linux system. One of the characteristics of Arch Linux is that the user decides how he wants his system to be from the boot loader to the desktop environment and installed programs among numerous other customizations. alis is flexible enough to cover the most common use cases and customizations that most users want for their system, it only requires indicating them to install the appropriate system.
To become familiar with the installation process without the risk of doing it for the first time on the system, it is possible to use a virtual machine in which to carry out the process. The installation on the real system is somewhat different in terms of hardware characteristics, but performing an installation on a virtual machine allows you to eliminate most of the doubts you may have.
Finally, given that while the system is being installed it remains unusable until it is properly finished, having another system or a support smartphone available to consult the internet if necessary is of great help.
Minimum requirements
Depending on the technical specifications of the system, it is possible to adapt the most suitable software components so that the system has good performance, a light desktop environment for systems with specifications already considered low, or more capable desktop environments that require a more efficient system. powerful enough to also deliver good performance.
For a light desktop environment the minimum requirements start from the following:
- Dual core CPU
- Memory of at least 2 GB
- Storage of at least 40 GB
- USB stick and USB ports
- Internet connection via wifi or ethernet cable
For modern GNOME and KDE desktop environments the minimum requirements are increased slightly:
- Dual or quad core CPU
- Memory of at least 4 GB
- Storage of at least 60 GB
- USB stick and USB ports
- Internet connection via wifi or ethernet cable
Download the official Arch Linux media
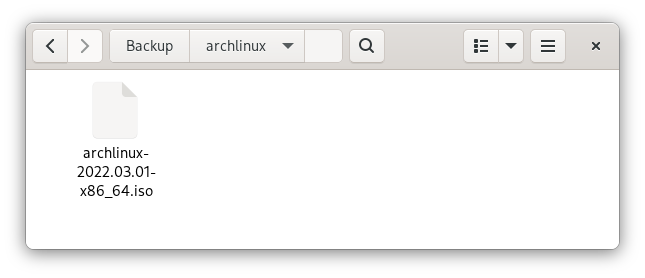
To start the installation you need to download the official installation media. Downloading is possible via direct web browser download from one of the many mirrors offered around the world, downloading is also possible via torrent file sharing networks.
The installation media is a disk image file that is about 800 MB in size. Once the installation medium has been downloaded, to check the integrity of the medium and ensure that it is the original and there have been no errors in the download, a program can be used to obtain the digital fingerprint of the medium and compare it with the one offered on the download page of Arch Linux as the correct one, if the one obtained and the one offered on the download page coincide, the medium has been downloaded correctly.
|
|
Create the installation media on a USB stick
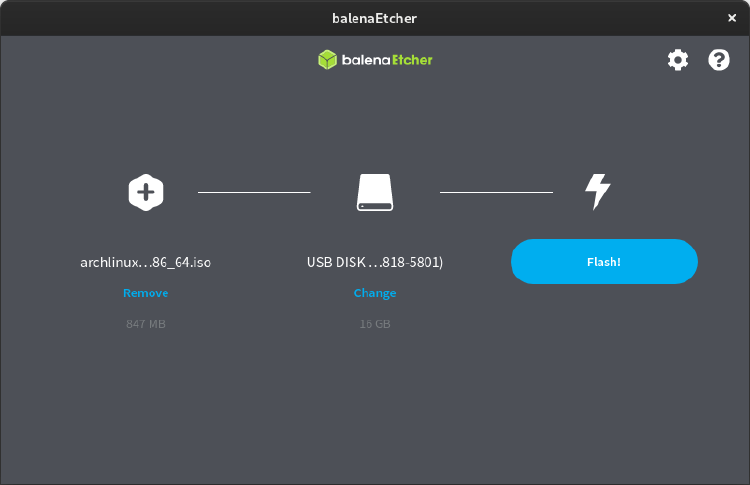
Once the installation medium has been downloaded, it must be recorded on a USB memory that allows the Arch Linux installation process to start. The USB drive must have at least 2 GB of storage capacity. The graphical program Balena Etchet allows you to burn the installation media to the USB stick. When recording the installation medium on the USB memory, all the data it had, so it is necessary to make a backup copy of the data it had if you wish to keep any of it.
Start a virtual machine
Using a program to run virtual machines allows you to install on a fictitious machine. The virtual machine behaves like a real machine from the operating system to the programs and graphic environment. The virtual machine, except for some of the hardware components that are also virtualized and different from those of the real system, allows testing the installation and once the resulting system is finished.
Some virtualization software programs are [GNOME Boxes][gnome-boxes], VirtualBox and virt-manager. VirtualBox is even available for non GNU/Linux operating systems like Windows or macOS.
Boot a real machine from the installation media
Windows systems require to have the option called Secure Boot enabled, alis requires disabling this option in the system BIOS before starting the installation. When starting the system, it is usually indicated which key must be pressed to enter the BIOS and change this option, save the changes and restart the system.
Starting the installation on the current system requires a reboot and booting from the previously created USB stick. Making the system use memory as the boot device typically requires a key press that varies depending on the make of system and motherboard. With the system turned off and the USB stick with the installation media inserted into a USB port, to select the boot drive, you have to press a key that is usually indicated in the first graphic image on the monitor provided by the system for a short period of time. weather. The key is usually F2, F4, F7, F8, F12 or another.
Starting the Arch Linux installation with alis
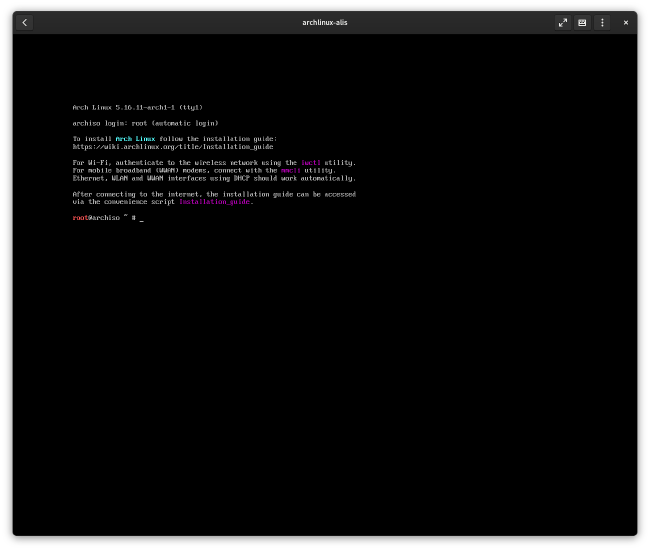
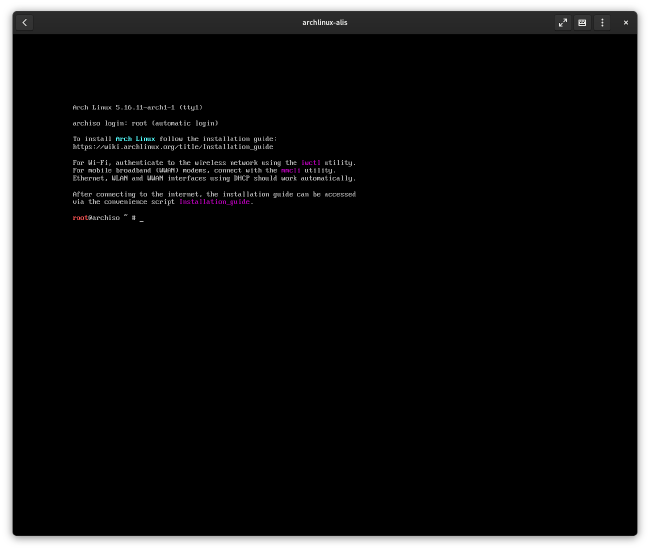
Arch Linux does not offer a graphical installer with which to install the system more easily but much less customizable than is possible with the command line where the Arch Linux installation media is launched. The system boots to a terminal from which the user must enter the commands to perform the installation. The installation guide on the wiki provides the steps and commands required to perform the installation along with other wiki pages on specific topics that are desired. Alternatively, Arch Linux includes [arch-install] on the installation media, it is an interactive, guided text-based installer that asks a series of questions until the installation is complete.
With alis, the installation only consists of four commands and the edition of one or two configuration files with the desired preferences of the system to be installed. The first command is to set the keyboard layout, the second to download the alis files from the internet, the third to edit the configuration file, and finally to start the installation that requires no further interaction until it is complete.
|
|
Keyboard layout configuration
To list the available keyboard layouts on the system you can use the following command and set the appropriate one with the loadkeys command.
|
|
Download alis script
To install Arch Linux with alis requires downloading the script from its source code repository with one of the following two commands.
|
|
The above command downloads the alis script files to the system.
|
|
alis configuration
All configuration options allowed by alis are provided declaratively in a file that contains multiple environment variables. The configuration file is divided into several groups of various related variables from storage partitioning to desktop environment and boot loader. Each group of variables is preceded by a few lines of comments that briefly indicate what the variable does but with some knowledge of GNU/Linux they should be familiar to any user, some variables may require consulting the Arch Linux wiki or some command.
Variable values can be as simple as true or false, some allow a single value, some allow multiple variables, some allow multiple variables but are a bash array. To facilitate the editing of the files, all the variables have a default value that forms a reasonable and common configuration for a system, normally it is not necessary to modify the values of all the variables, just those in which another configuration is wanted. Another way provided for editing the files is that many variables offer the option of ignoring values by preceding them with the character !, just select the desired value and comment the default one, when starting alis the values are processed and these are preceded with ! are discarded from the value used for the variable.
The config file is just a text file, you really don’t even need to edit the user every time you install Arch with alis. It is possible to configure a file according to your preferences, host it in your own repository and download it with a curl command when starting the installation in the same way that you download alis.
|
|
To avoid errors during the installation, when starting, alis makes some checks on the values of the variables so that the value assigned to the variable is among one of the possible ones and has a value if it is required. Not all invalid values are detected but many variables do have checks.
The configuration file can be edited with a console based text editor such as vim which is pre-installed on the Arch Linux installation media.
|
|
For package installation, which is used during system installation for the installation of selected packages, but can also be used after the base installation is done and the desktop environment is started. Installing Arch Linux packages is allowed, from the AUR repository and installing an AUR utility, Flatpak packages and installing the SDKMAN utility is installing packages offered in this SDK manager mostly from the Java platform.
|
|
|
|
Start the installation
Finally, the installation starts with another command.
|
|
After this command the user no longer requires any additional interaction, the script performs the installation tasks in a completely unattended and automated way until the installation is successfully completed, if everything works correctly. The time it takes to perform the installation depends mainly on the speed of the internet connection and the download of the installation packages. With a fiber internet connection, with ethernet cable and SSD, the installation only takes 4 minutes or even less. During the installation, the console displays the commands that the script executes and all the output that those commands emit.
This is a real-time video captured with ascinema in text format with all the output emitted during the installation.
Desktop environment
Once the installation is finished and after the system has restarted, it starts up to the graphical environment selected to install or if none has been installed until the login to the terminal in which to enter the username and password of one of the created users in the installation.
Steps after installation
After having carried out the installation when using the system over time, some maintenance tasks are necessary so that the system continues to function as newly installed. And maybe some customization tasks that alis does not perform or support such as an icon canvas, font and other types of exclusive user settings.
alis allows installing packages during system installation, but it also supports installing packages after the basic installation with the command ./alis-packages.sh and is the recommended way to do it because it is more reliable and safe for packages of AUR.
Upgrade system
Arch Linux is a constantly updated rolling release distribution with daily package updates with bug fixes and updates to new versions, usually to the latest version released by the package author. It is advisable to update the packages installed on the system at least every few weeks so that the number of them does not accumulate, because on some rare occasions it is necessary to update the system before a certain date or simply to get the security fixes discovered and corrected. .
Updating the system is a potential operation that is occasionally capable of producing an error and rarely, in the most serious cases, causes the system to fail in the boot process, leaving the computer inoperative. For this reason, before carrying out a system update, it is advisable to make a backup copy of the data. In Arch Linux, the system update must be done completely for all packages, updating the system partially or individual packages can generate small or serious errors and conflicts between dependencies.
On the main page of the Arch Linux website, among the news, when necessary, messages are published in case you have to carry out any manual operation.
Fortunately, Arch Linux, even though it is a rolling release distribution, is a very stable distribution, there are not many errors that occur after an update, most of them are usually minor and are corrected in a short time with a new version of the problematic package. and serious errors are very rare in common system configurations, serious errors when they do occur are almost more usually caused by the user than by the update itself. In any case, if you are affected by an error in an update, it will surely have happened to another user, possibly there is already a recent thread in the discussion forums or a bug will have been created in the request system.
The command to update the system completely is the following with the package manager that in Arch Linux is pacman.
|
|
Installing and uninstalling programs
For most users, the most important part of a system is not the operating system they use, but the productive tasks they perform with it. And productivity tasks are done through programs. Like many other GNU/Linux distributions, the Arch Linux distribution offers a large collection of programs with both graphical and command-line interfaces to perform any task that needs to be done. In addition, most programs are free software or open source, generally free, and there is always a free alternative that is almost good or better than any proprietary program that a user is used to using in another operating system.
Here are some program categories.
- Office automation, documents and desk
- Office document editor
- Advanced text editor
- E-books and comics
- Screen capture
- Backups
- Internet and communications
- Browser
- Feed reader
- Download torrent files and direct downloads
- Instant messaging
- Videoconference
- Private cloud
- Photos and graphics
- Photo retouching
- Multimedia, video and audio
- Video, audio, movie and music player
- Video editor
- Video and audio converter
- Other specific programs
- Games
- Programming and development
- Compilers
- Integrated development environment
- Databases and server software
- Virtualization
- Security and privacy
- Password manager
- File encryption and decryption
- Firewalls
There are different forms and sources of software packages. On the one hand, there are the Arch Linux distribution packages that are installed with the pacman command.
|
|
In Arch Linux there is also the AUR repository maintained by the distribution’s own users. Some are compiled from source code so their installation requires compilation and takes time. The packages in the AUR repository are usually managed with their own utility that takes care of satisfying the necessary dependencies. Due to the fact that some packages are installed from source code and the AUR repository contains packages from any user so it is not completely reliable, the AUR repository is not the first option to use, if there is an alternative it is better to use the package from Pacman or Flatpack.
|
|
Another possibility is to install Flatpak packages which are distribution independent and can be installed with the graphical package manager offered by the GNOME desktop environment with the Software program.
You already will have the basics of the system and with the programs you want but there are still more customization options that you will have to do for yourself. Managing dotfiles or add some theme to the login manager is something left for the user.
How to start recovery
In the event that the error in an update is so serious that the system fails in the boot process and is not resolved with a reboot, it is necessary to recover the system manually. The recovery process consists of booting the system with the Arch Linux installation media itself, mounting the file system, and running the necessary commands to resolve the issue. Generally, if the error occurred after a system update, the problem is a package that has a bug, and the solution is usually to downgrade that package to the correct previous version.
Depending on the system configuration mounting the file system is more or less complicated depending on the disk partitioning, whether LVM or LUKS encryption is used. alis offers a recovery utility that makes it very easy to mount the file system according to the configuration with which it was installed. Starting the recovery script starts with the same steps as installing the system with alis but instead by editing the alis-recovery.conf configuration file and running the alis-recovery.sh command.
|
|
Once the file system is mounted, disabling a package is done with the following command. The package and version to be downgraded is obtained from the local package cache, in this example it is indicated how to downgrade the linux kernel package.
|
|
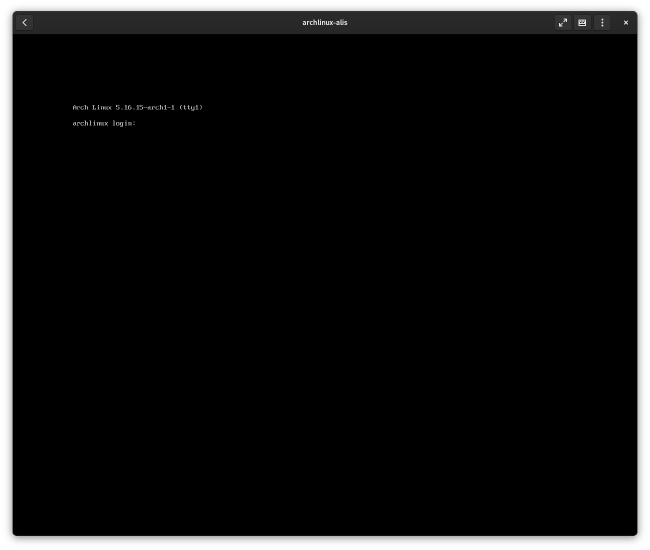
Install on virtual machine or cloud with SSH install and cloud-init
alis also offers support to install Arch Linux in an automated and easy way on a local virtual machine on your own computer virtualized with KVM, QEMU, VirtualBox or other virtualization software and also on virtual machines in the cloud. With this support offered via SSH install and cloud-init it is possible to install after booting the virtual machine with SSH either to a local virtual machine or to a cloud machine over the internet.
For installation on virtual machines alis offers three scripts.
- alis-cloud-init-iso.sh which creates a private and public key pair for the SSH connection and creates a disk image that includes the public key and other instructions for virtual machine initialization provided with cloud-init. The iso image has to be mounted on the virtual machine.
- alis-kvm-virt-install.sh contains the command to create a virtual machine with KVM on GNU/Linux and the definition of the characteristics of the virtual machine in terms of memory size, virtual CPUs, system BIOS, and storage space as well as network connection. The virtual machine mounts the iso image created in the previous command.
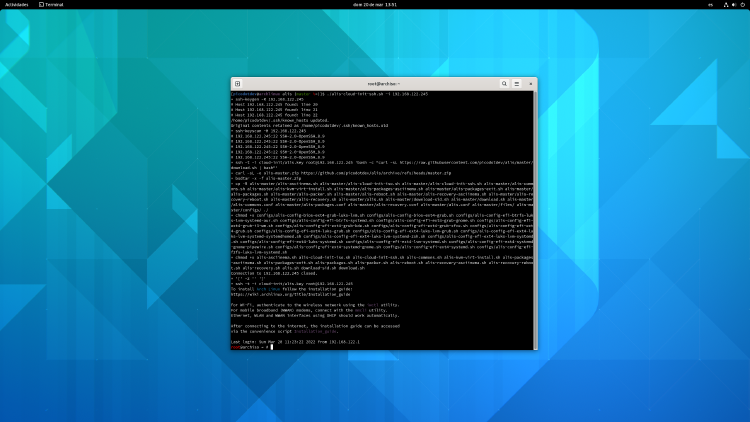
- alis-cloud-init-ssh.sh once the virtual machine is started and knowing the IP address assigned to it, this command makes the SSH connection using the private key SSH to perform authentication. And perform the alis script download. In addition, the command with an option allows you to start the installation by applying the changes with the desired configuration to the configuration file and start the installation.
The commands to execute are the following:
|
|
